

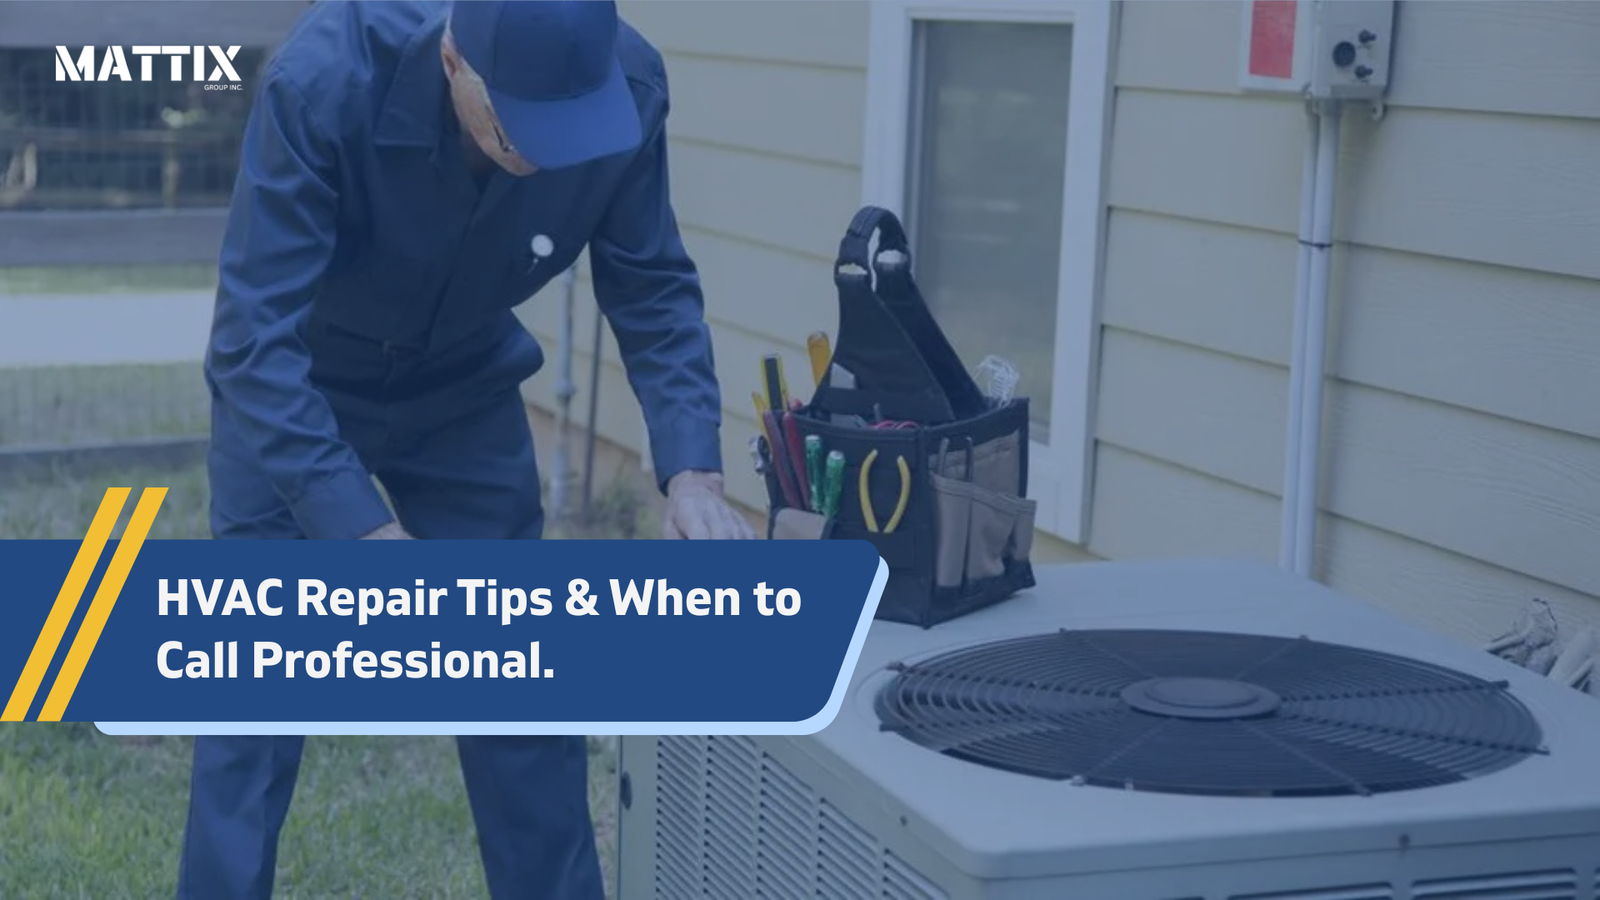
Your home’s Heating, Ventilation, and Air Conditioning (HVAC) system is the unsung hero of your daily comfort, navigating Canada’s distinct seasons. It works tirelessly behind the scenes to keep you warm during our chilly winters and cool during those surprisingly scorching summer days. But when it sputters, fails, or makes a noise that sounds suspiciously expensive, it’s easy to feel a wave of panic. The good news? Many common HVAC issues can be resolved with a little bit of know-how and some basic troubleshooting, saving you time, money, and the discomfort of waiting for a technician.
However, it’s crucial to know where to draw the line. While some fixes are simple and safe for homeowners, others can be complex, dangerous, and must be left to a certified professional. Attempting certain repairs without the proper training and tools can lead to further damage, safety hazards like electrical shocks or fires, and could even void your system’s warranty. This comprehensive guide will walk you through the essential DIY HVAC troubleshooting steps, empowering you to tackle the manageable problems while clearly outlining the signs that mean it’s time to pick up the phone and call an expert.
Safety First: Your Non-Negotiable First Step
Before you touch any part of your HVAC system, prioritize safety. These complex appliances involve high-voltage electricity, moving parts, and, in many Canadian homes, natural gas.
- Turn Off the Power: This is the most critical step. Locate the electrical breaker for your HVAC system in your main electrical panel and switch it to the “OFF” position. For your outdoor unit (the condenser), there is typically a disconnect box on a nearby exterior wall; you should also turn this off.
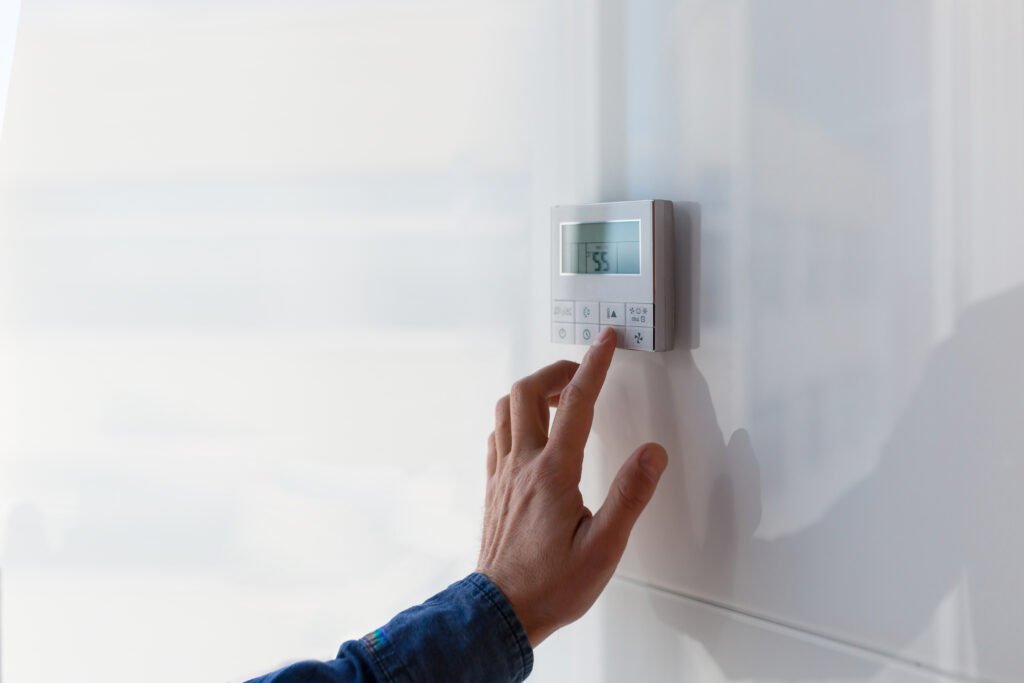
- Turn Off the Thermostat: Set your thermostat to “OFF.” This prevents the system from trying to cycle on while you’re working.
- Consult Your Manual: Your owner’s manual is an invaluable resource. It contains specific information about your model, including where key components are located and any manufacturer-specific maintenance guidelines.
The DIY HVAC Troubleshooting Checklist: What You Can Fix
When your system acts up, don’t immediately assume the worst. Work through this checklist of common issues that homeowners can often resolve on their own.

Problem 1: The System Won’t Turn On at All
It’s alarming when your HVAC system gives you the silent treatment, but the fix is often surprisingly simple.
- Check the Thermostat: This is your system’s command center.
- Settings: Make sure it’s set to “Cool” or “Heat” and the target temperature is set at least 5 degrees below (for cooling) or above (for heating) the current room temperature.
- Batteries: If the thermostat display is blank, it likely needs new batteries. This is a frequent and easily fixed culprit.
- Reset: Sometimes, a simple reset is all that’s needed. Turn the thermostat off, wait a few minutes, and turn it back on.
- Check the Power:
- Circuit Breaker: Go to your home’s breaker panel. If the breaker for the HVAC system is in the “OFF” or middle position, it has tripped. Flip it firmly to “OFF” and then back to “ON.” If the breaker trips repeatedly, it’s a sign of a deeper electrical issue that needs a professional.
- Switches: Many systems have multiple power switches. There’s often a switch on or near the indoor furnace/air handler unit (it might look like a standard light switch). Ensure this switch is in the “ON” position. Also, check the outdoor disconnect switch near the condenser unit.
Problem 2: Weak or No Airflow from Vents
If the air trickling from your vents is weak, it’s a clear sign that something is obstructing the flow of air.
- Inspect and Change the Air Filter: This is the number one cause of airflow problems. A clogged filter acts like a dam, preventing air from moving freely through your system. This not only reduces comfort but also forces your system to work harder, increasing energy bills and risking damage.
- How to Fix: Locate your filter (often in the return air duct or a slot on the indoor unit). Slide the old one out and check it. If it’s visibly dirty, replace it with a new one of the correct size. It’s recommended to check your filter every 1-3 months.
- Check Vents and Registers: Make sure your supply and return vents are open and not blocked by furniture, rugs, or curtains. Also closing vents in unused rooms can actually disrupt your system’s balance and strain the blower motor.
Problem 3: AC is Blowing Warm Air or Not Cooling Enough
Few things are more frustrating on a hot day than an AC that’s not doing its job. Before calling for service, check these two areas.
- Revisit the Air Filter: Yes, again! A severely clogged filter can restrict airflow so much that the evaporator coils can freeze, which will prevent the air from being cooled properly.
- Clean the Outdoor Condenser Unit: Your outdoor unit is responsible for releasing the heat absorbed from inside your home. Over time, it can get covered in dirt, grass clippings, leaves, and “helicopter” seeds. This layer of grime acts as an insulator, trapping heat and making your AC much less efficient.
- How to Fix:
- Ensure the power is off at both the breaker and the outdoor disconnect switch.
- Clear away any large debris like branches or leaves from around the unit with your hands (wear gloves). Maintain at least a two-foot clear zone around the unit for good airflow.
- Using a garden hose with a gentle spray nozzle, rinse the fins of the condenser unit from the top down. Do not use a pressure washer, as the high pressure can bend and damage the delicate fins.
- For a deeper clean, you can purchase a commercial AC coil cleaner from a hardware store like Canadian Tire or Home Depot. Spray it on, let it foam and work for the recommended time, and then rinse it off thoroughly.
- How to Fix:
Problem 4: Water Leaking Around the Indoor Unit
Puddles of water near your indoor unit are a sign of a blockage in the condensate drainage system. This system collects moisture that condenses on the cold evaporator coils and safely drains it away.
- Inspect and Clear the Condensate Drain Line: Over time, algae, mold, and sludge can build up and clog this line, causing water to back up and overflow the drain pan.
- How to Fix:
- Turn off the power to the system.
- Locate the condensate drain line, which is typically a PVC pipe coming from the indoor unit.
- You can try to clear minor clogs near the opening with a flexible wire or pipe cleaner.
- A popular method is to use a wet/dry shop vacuum. Secure the vacuum’s hose to the end of the drain line outside your house and let it run for a few minutes to suck out the clog.
- To help prevent future clogs, you can periodically pour a solution of one part distilled vinegar and one part water down the access port.
- How to Fix:
When to Call a Professional: The “Don’t Touch” List
While DIY fixes are great, some issues are too hazardous or complex. Attempting these repairs can lead to serious injury or expensive damage. Call a local, trusted HVAC company if you notice any of the following.
Sign 1: Loud or Unusual Noises
Your HVAC system should operate with a relatively consistent hum. Loud, sudden, or strange noises are a red flag.
- Grinding or Screeching: Often points to a serious issue with the motor bearings.
- Banging or Clanking: Could signal a loose or broken part, such as a piston pin or connecting rod within the compressor. This requires an immediate shutdown.
- Persistent Buzzing: Can indicate a failing electrical component or a refrigerant leak.
- Hissing: A hissing or whistling sound often indicates a refrigerant leak or could be a sign of leaking ductwork.
Sign 2: HVAC Electrical Issues
If you suspect an electrical problem beyond a simple tripped breaker, do not attempt to fix it yourself.
- Frequently Tripping Breakers: If you reset the breaker and it immediately trips again, there is an underlying electrical fault.
- Dimming or Flickering Lights: If lights dim when the HVAC system kicks on, it could be drawing too much power, possibly due to a struggling motor.
- Burning Smells: A smell of burning plastic or metal is a critical warning. Turn the system off at the breaker immediately and call for emergency services.
Sign 3: HVAC Refrigerant-Related Problems
Refrigerant is the lifeblood of your AC. In Canada, handling these substances is strictly regulated and requires a licensed professional.
- Signs of a Leak: If you’ve cleaned the filter and outdoor unit and your AC still blows warm air, or if you see ice buildup on the coils of your indoor unit, you likely have a refrigerant leak. A licensed technician must find and repair the leak and then recharge the system according to environmental regulations.
Sign 4: Furnace and Gas-Related Issues
If you have a gas furnace, any potential issue involving the gas line is a serious safety hazard and requires a technician with a valid gas license (like a TSSA-certified technician in Ontario).
- Smell of Gas (Rotten Eggs): Natural gas is odourless, so utility companies add a substance called mercaptan to give it a distinct “rotten egg” smell. If you smell this, follow these steps from Canada’s public safety authority: leave your home immediately, do not operate any light switches or electronics, and call your local gas utility (like Enbridge or FortisBC) from a safe distance.
- Yellow or Flickering Pilot Light: The pilot light on an older furnace should be a steady blue flame. A yellow, flickering flame could indicate incomplete combustion, which can produce dangerous carbon monoxide.
Sign 5: A System That Constantly Turns On and Off (Short-Cycling)
If your HVAC system runs for a few minutes, shuts off, and then turns back on again repeatedly, it’s called short-cycling. This puts immense wear and tear on the components and can be caused by several issues, including a refrigerant leak or an oversized system—all of which require a professional diagnosis.
The Power of Prevention: Role of HVAC Professional Maintenance
Ultimately, the best way to avoid DIY headaches and costly emergency repairs is with regular, professional maintenance. While troubleshooting is useful, preventative care is truly paramount.
Specifically, an annual tune up allows a qualified technician to perform a thorough inspection. They clean complex components you simply can’t access. For instance, a pro will test electrical connections and lubricate moving parts. Above all, they catch minor issues before they become major breakdowns. Therefore, you should consider this a crucial investment in your system’s longevity, efficiency, and safety.
In short, understanding the difference between a simple fix and a serious problem is empowering. It means you can confidently handle minor HVAC issues yourself. However, it is also essential to recognize your limits. For everything else, calling a trusted, local Canadian professional is always the smartest and safest choice. Ultimately, this decision protects your home and provides true peace of mind for your family.